
Secure and Stable: Understanding How to Glue Down Wood Flooring
Share
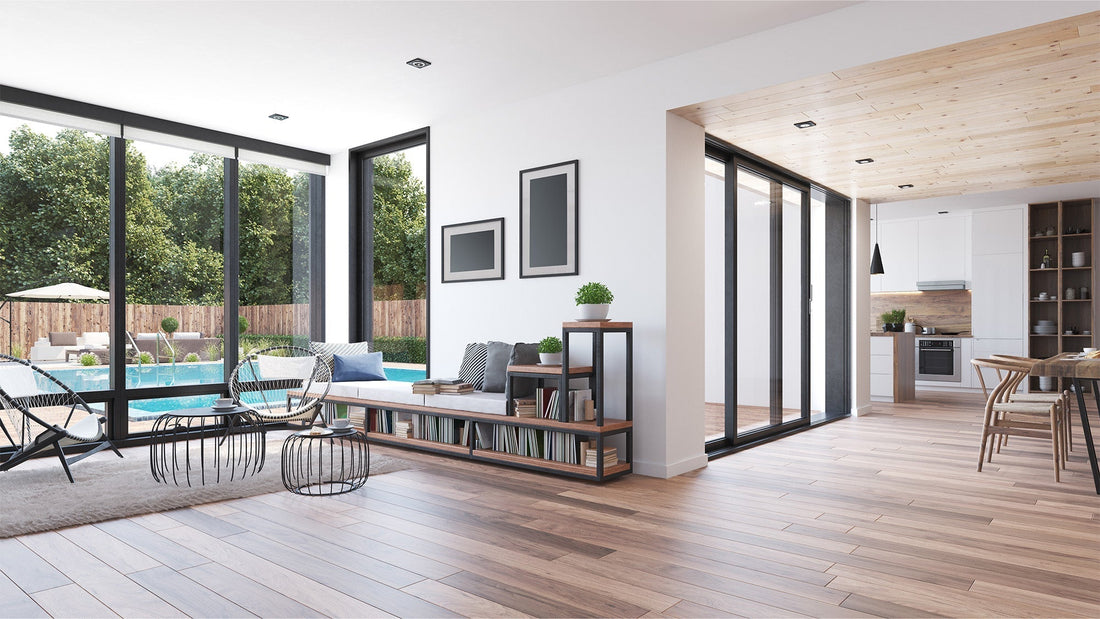
When it comes to installing wood flooring, homeowners and professionals have a few primary methods: floating, nail-down, and glue-down. Each method offers distinct advantages depending on the type of wood, the subfloor, and the desired performance. Among these, knowing how to glue down wood flooring is a critical skill, particularly for engineered hardwoods over concrete, or in situations where sound abatement and maximum stability are paramount. Gluing down provides a solid, quiet, and durable installation, creating a premium feel underfoot.
At Flooring Attic, part of Atlanta Flooring Design Centers, we provide expertise and quality materials for all installation methods. Serving the Southeast USA from our Buford, GA showroom, we can help you understand the nuances of how to glue down wood flooring for a lasting and beautiful result.
Why Choose to Glue Down Wood Flooring?
The glue-down method offers several compelling benefits:
- Superior Stability: The adhesive creates a strong bond between the wood and the subfloor, minimizing movement, gaps, and squeaks. This is particularly beneficial for wider planks, which can be prone to gapping with other methods.
- Enhanced Sound Control: The adhesive acts as a sound barrier, significantly reducing hollow sounds and footfall noise, contributing to a quieter home.
- Ideal for Concrete Subfloors: Gluing down is the most common and effective method for installing engineered wood flooring directly over concrete slabs.
- Increased Thermal Conductivity: A direct bond to the subfloor (especially concrete) can improve the efficiency of radiant heating systems.
- Premium Feel: The solid, unmoving feel of a glued-down floor often contributes to a more luxurious and high-end perception.
Preparing the Subfloor: The Most Critical Step in How to Glue Down Wood Flooring
No matter how good your adhesive or wood product, a successful glue-down installation hinges on meticulous subfloor preparation. This is where most problems arise if not done correctly.
- Cleanliness: The subfloor must be meticulously clean, free of all dust, dirt, grease, wax, paint, and old adhesive residues. Use a heavy-duty vacuum.
- Flatness: This is paramount. The subfloor must be exceptionally flat, typically within 1/8 inch over 6 feet or 3/16 inch over 10 feet. Any imperfections will telegraph through the wood, leading to humps, hollows, or weak adhesive bonds.
- Leveling: Use a self-leveling compound or grind down high spots to achieve the required flatness.
- Dryness: Moisture is the enemy of wood flooring.
- Concrete: Conduct moisture tests (calcium chloride or relative humidity probes) to ensure the slab's moisture content is within the adhesive manufacturer's specifications. New concrete slabs require significant cure time (often 60-90 days or more).
- Wood Subfloors (Plywood/OSB): Ensure they are structurally sound, free of squeaks, and dry.
- Porosity: Test the subfloor's porosity to ensure the adhesive will bond correctly.
- Moisture Barrier/Vapor Retarder: For concrete subfloors, a vapor retarder or moisture mitigation system is almost always required. Some adhesives are moisture-cured and act as their own vapor barrier; always check the adhesive manufacturer's specifications.
The Process: How to Glue Down Wood Flooring
Once the subfloor is perfectly prepared, the installation can begin. This is a simplified overview, and always refer to the specific wood flooring and adhesive manufacturer's instructions.
- Acclimation: Allow the wood flooring to acclimate to the home's relative humidity and temperature for the recommended period (typically 3-5 days, but can be longer). This minimizes expansion and contraction post-installation.
- Layout and Planning:
- Determine the direction of the planks. Generally, run parallel to the longest wall or perpendicular to floor joists (for wood subfloors).
- Find the true center of the room and snap chalk lines. You'll often work off a straight starter line from the center or a major wall.
- Plan for expansion gaps around the perimeter of the room (usually 1/2 to 3/4 inch), which will be covered by baseboards or trim.
- Adhesive Application:
- Type of Adhesive: Use the adhesive specifically recommended by the wood flooring manufacturer. Common types include urethane-based, moisture-cured urethane, or sometimes pressure-sensitive adhesives.
- Trowel Size: The adhesive manufacturer will specify the correct trowel notch size and shape. Using the wrong trowel can lead to insufficient adhesive coverage and bond failure.
- Spread Rate: Apply the adhesive evenly to a small section of the subfloor at a time, just enough area for you to lay wood planks within the adhesive's open time (the time before it starts to skin over).
- Laying the Planks:
- Start laying the first row against your chalk line, ensuring it's perfectly straight.
- Press each plank firmly into the wet adhesive, ensuring full contact.
- Use rubber mallets to gently tap planks into place, ensuring tight seams.
- Stagger the end joints of planks in adjacent rows for strength and aesthetics.
- Clean up any adhesive that gets on the surface of the wood immediately, following the adhesive manufacturer's cleaning instructions.
- Rolling (if required): For some installations, especially with larger planks or some adhesives, a heavy roller (often a 100-pound roller) is used within a specific time frame after laying to ensure maximum adhesive transfer and bond.
- Curing Time: Allow the adhesive to cure fully before allowing heavy traffic, furniture placement, or heavy rolling loads. This can take 24-72 hours or more, depending on the adhesive and environmental conditions.
Is DIY Possible?
While it is possible to glue down wood flooring as a DIY project, it is highly recommended to engage a professional. The meticulous subfloor preparation, precise adhesive application, and heavy-duty equipment involved (especially for larger areas) make it a challenging job for even experienced DIYers. Mistakes in subfloor prep or adhesive application can lead to costly floor failure and void warranties.
Knowing how to glue down wood flooring highlights the precision and care required for this durable and high-performing installation method. When done correctly, it results in a beautiful, stable, and quiet floor that will enhance your home for decades.
Find Beautiful Glue Down Hardwood Floor Options in Buford, GA at Flooring Attic
Understanding how to glue down wood flooring is complex, but achieving a durable, beautiful result doesn't have to be. At Flooring Attic, part of Atlanta Flooring Design Centers, we specialize in expert wood flooring. Visit our showroom in Buford, GA, to explore our extensive selection of quality wood flooring perfect for any installation type.
Established in 1985, The Flooring Attic Outlet is your source for quality flooring products in and around Buford, GA. We offer quality products and excellent service and pricing to the Southeast including Georgia, Florida & Alabama. We are a Top 10 Flooring Retailer in the United States and a premier flooring supplier for new homes throughout the Southeast.