A Step-by-Step Guide: How to Seal Hardwood Floors
Hardwood floors are a timeless and beautiful feature in any home, adding warmth, character, and value. But to keep them looking their best for years to come, they require proper maintenance, and one of the most crucial steps is sealing.
Sealing your hardwood floors protects them from scratches, stains, and moisture, ensuring their beauty endures. If you’re a DIY enthusiast or simply want to understand the process, this guide will walk you through how to seal hardwood floors like a pro.

The Importance of Sealing Your Hardwood Flooring
A sealant, also known as a finish, provides a protective barrier on top of the wood. Without this layer, the wood is vulnerable to a number of threats:
- Moisture Damage: Water spills, even small ones, can seep into the wood, causing it to warp, swell, or stain.
- Scratches and Scuffs: Everyday foot traffic, pet claws, and moving furniture can leave unsightly marks.
- Sunlight Damage: UV rays can fade the color of your wood over time, making it look dull and uneven.
- Stains: Food, drinks, and other spills can leave permanent marks on an unprotected floor.
Sealing your wood flooring is the best way to preserve your investment and keep them looking pristine.
How to Seal Hardwood Flooring & Increase Your Floors’ Lifespan
Step 1: Preparation is Key
Before you can apply a sealant, your floors must be properly prepped. This is the most labor-intensive but most important part of the process.
- Clear the Room: Remove all furniture, rugs, and decor. Make sure the room is completely empty to give yourself a clear workspace.
- Clean the Floors: Thoroughly sweep and vacuum the floors to remove all dust, dirt, and debris. Any particles left behind will be sealed into the finish.
- Sand the Floors: This step is crucial for both new and old floors. For new floors, a light sanding will open the wood's pores to better absorb the finish. For old floors, sanding removes the old finish, evens out imperfections, and prepares the surface for a new coat. Start with a coarse-grit sandpaper (like 60-grit) and work your way up to a fine-grit (120-150-grit) for a smooth finish. Always sand with the grain of the wood to avoid visible scratches.
- Final Cleaning: After sanding, vacuum again and then use a tack cloth or a slightly damp mop to pick up any remaining dust. The floor must be immaculate before you move on.
Step 2: Choosing and Applying Your Sealant
There are several types of sealants available, each with its own pros and cons. The most common are polyurethane (water-based and oil-based), shellac, and hardwax oil.
- Water-Based Polyurethane: Dries quickly, has a low odor, and doesn't yellow over time. It's a great choice for a clear finish.
- Oil-Based Polyurethane: Dries more slowly, has a strong odor, but provides a very durable finish with a rich, amber tone.
- Hardwax Oil: A more natural option that soaks into the wood. It offers a matte finish and is easy to touch up but may require more frequent reapplication.
Read the manufacturer’s instructions carefully before you begin.
The Wood Floor Sealant Application Process:
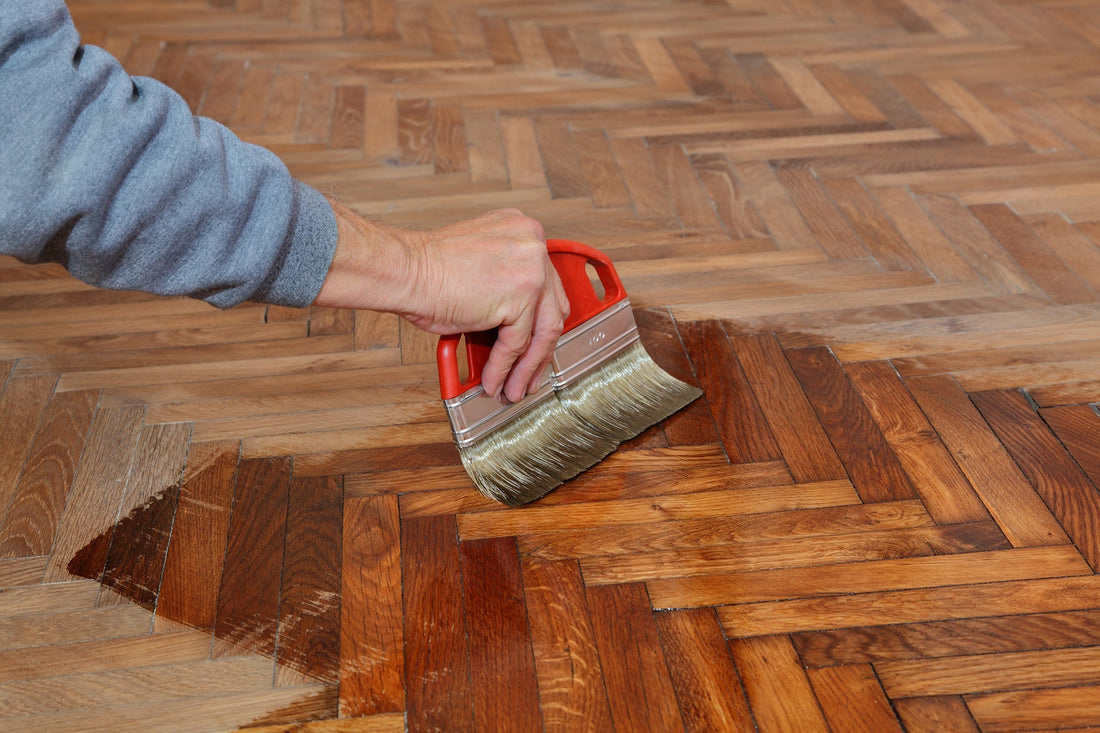
- Start at the far corner: Begin applying the sealant in the corner of the room furthest from the door, working your way back toward the exit.
- Use a T-bar applicator or roller: Apply the sealant in thin, even coats, working with the grain of the wood. Avoid applying too much at once, as this can create drips or an uneven finish.
- Allow for proper drying time: Each coat of sealant needs to dry completely before you can apply the next one. This can take anywhere from a few hours to a full day, depending on the product and humidity levels.
- Lightly sand between coats: For an extra-smooth finish, you can lightly sand the floor with a fine-grit sandpaper (220-grit) after the first coat has dried. This removes any tiny imperfections and helps the next coat adhere better.
- Apply a second (and third) coat: Most finishes require at least two coats for adequate protection. High-traffic areas may benefit from a third coat.
Discover Hardwood Flooring & Maintenance Tips with Flooring Attic
Learning how to seal hardwood floors is a valuable skill that protects your home's most beautiful feature. While it requires time and patience, the reward is a stunning, durable floor that will stand the test of time. A well-sealed floor is not just about looks; it's about preserving the integrity of the wood itself.
For the best professional-grade sealants and expert advice on how to seal hardwood floors, contact or visit Flooring Attic. We have a showroom location in Buford, GA. We service the entire Southeast with multiple flooring pick-up locations. Flooring Attic is part of Atlanta Flooring Design Centers.
Established in 1985, The Flooring Attic Outlet is your source for quality flooring products in and around Buford, GA. We offer quality products and excellent service and pricing to the Southeast including Georgia, Florida & Alabama. We are a Top 10 Flooring Retailer in the United States and a premier flooring supplier for new homes throughout the Southeast.